Managing Hosts
Overview
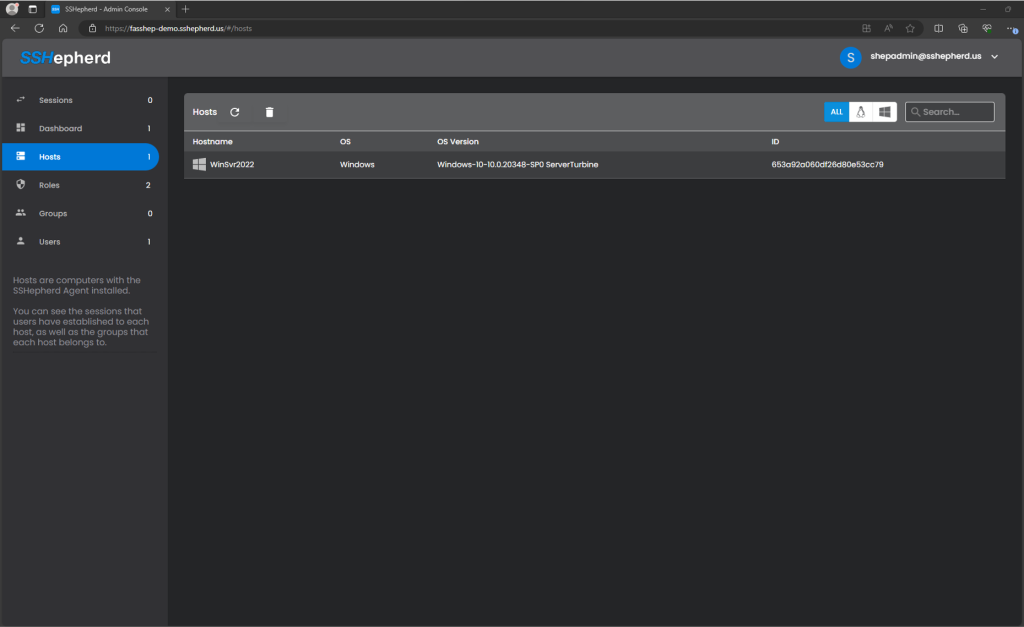
Hosts are the servers that you want to protect with SSHepherd®. When you install and register the Agent on a server, it will automatically appear in the Host section of the Administrator Console.

Add Host
Hosts can only be added to the system by performing the following actions:
- Install the SSHepherd® Agent on the target system
- Execute the shepagent –register command on that system
- When prompted, enter your Administrator username and password to register the new Host
shepagent --url https://your.sshepherd.server register
Remove Host
Simply uninstalling the SSHepherd® Agent from a system will not remove it from the system completely. Upon uninstall, the configuration files for that particular SSHepherd® Agent are retained on that system in case of a re-installation and subsequent registration. This way all of the current relationships are maintained.
To remove a host from the system completely, perform the following:
- Uninstall the SSHepherd® Agent software from the target system
- Execute the following shepctl command where HOSTID is the host id of the system:
shepctl --hostid HOSTID remove-host
Note – you can also skip step 2 above, and perform the following in the Administrator Console instead:
- Click on the Hosts tab
- Select the host in the list
- Click the trashcan icon at the top of the list
- Confirm by clicking on the YES button
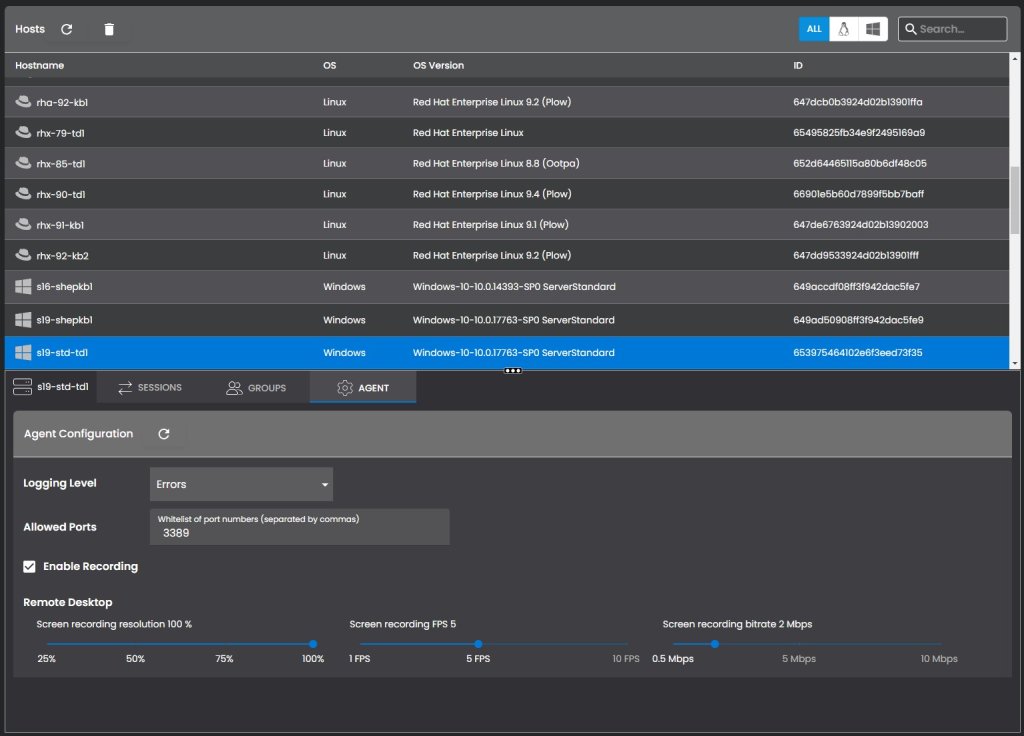
Agent Configuration

- Logging Level – this allows you to set the logging level for the host (agent service must be restarted for this setting to apply)
- Allowed Ports – this allows you to add whitelisted ports to your agent.conf file (agent service must be restarted for this setting to apply)
- Enable Recording – this will disable recording all sessions for the host
- Remote Desktop Settings (only available on Windows hosts)
- Screen recording resolution
- Screen recording FPS
- Screen recording bitrate
