
Universal Policy Administrator Documentation
Configuring SAML Authentication via Microsoft ENTRA ID
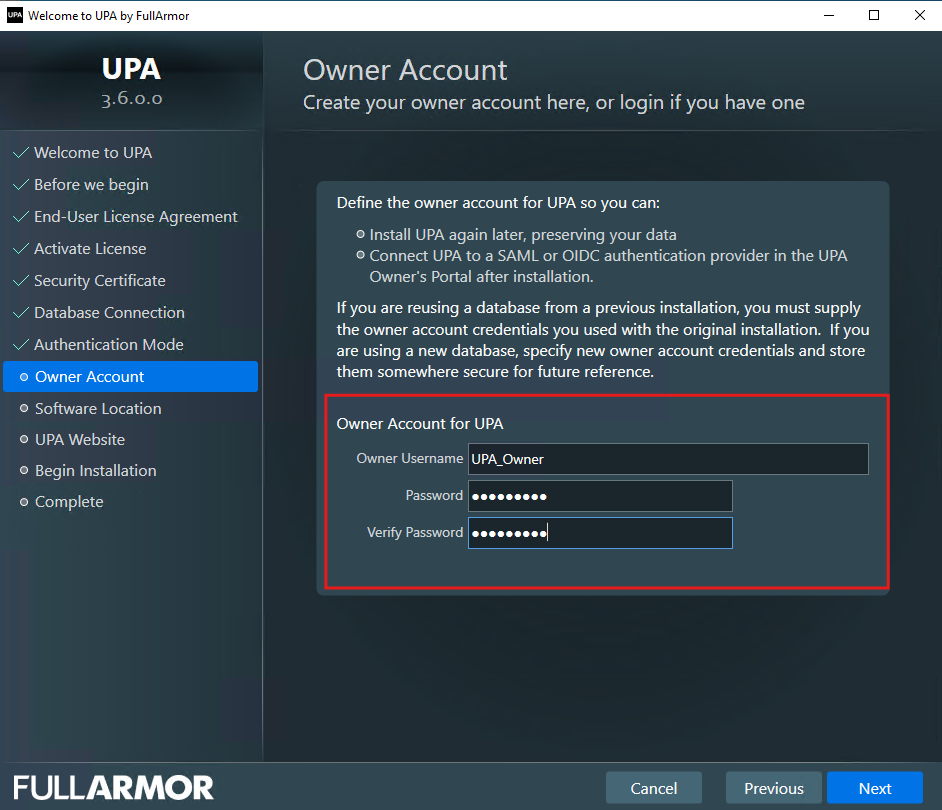
You can configure UPA so that your users can login with their Microsoft Entra ID credentials. To do this, you will need the Owner Account information that you created during the installation as shown below.
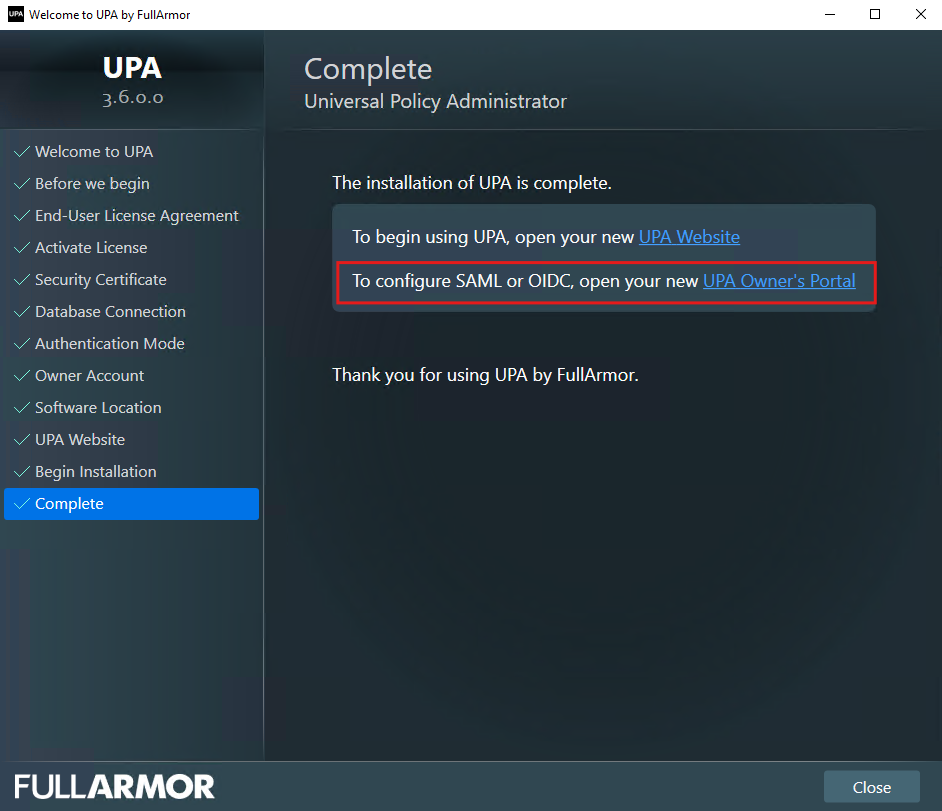
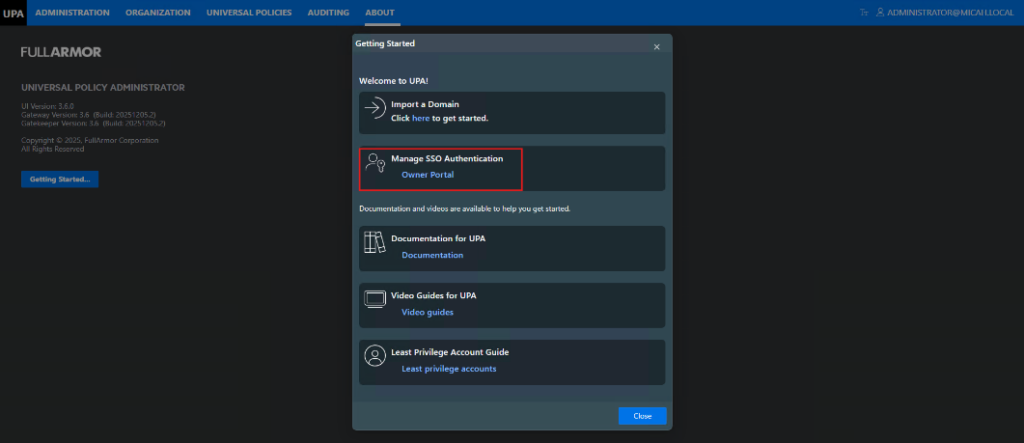
There are a few ways to get to the Owner’s Portal to setup your SSO:
- At the end of the installation, click on the Owner’s Portal URL as shown below:
- Alternatively, inside the UPA Portal, go to the About section and click Getting Started.
- Or, from your UPA domain name, add /portal/Account/SSO (e.g., https://upademotest.micah.local/portal/Account/SSO)
The instructions and video below demonstrate how to enable Single Sign-On (SSO) for UPA using Microsoft Entra ID and SAML.
Manual Provisioning for Entra ID
- After you’ve installed UPA, log into the Owner Portal site using the credentials that you created during installation (see Owner Portal info above).
- Once logged in, click on Get SAML Metadata
- Copy the metadata content into Notepad and save the file as a XML file (e.g., UPA-SAML.xml)
- Click the back button on the browser to get back to the Owner Portal
- Open a new tab to go into your Office 365 Microsoft Entra admin center (entra.microsoft.com)
- After logging in, in the top search bar, type Enterprise applications and click on it
- At the top, click + New application and then + Create your own application
- Name your app (e.g., UPA) and select the bottom item, Integrate any other application you don’t find in the gallery (Non-gallery)
- Click Create
- Click 1. Assign users and groups
- And then + Add user/group
- Select the Users or Groups that you want to allow to log into UPA and then click Assign
- After it assigns the users/groups, click Overview and then in the 2. Set up single sign on box, click Get Started
- Select SAML
- Click to Upload metadata file, find the file we saved in Step 3 above, and click Add
- In the Basic SAML Configuration, in the Relay State (Optional), enter the name of your app (e.g., UPA).
- Click Save
- Click ‘x’ to close the Basic SAML Configuration and then select No, I’ll test later
- Scroll down to the SAML Certificates section and, at Federation Metadata XML, click Download.
- Open the file (but not with Internet Explorer because it adds hidden characters) and copy the contents to the clipboard.
- Go back to the UPA Owner Portal and click Add SAML Provider
- In the Provider Name, enter the name of the app (e.g., UPA)
- (Optional) click the check box below to Set as Default Login Provider
- In the Provisioning Mode dropdown, we will keep it Manual
- In the IDP Metadata, Paste the contents of the Federation Metadata XML, that we copied to the clipboard in Step 20
- Click Save Changes
- In the Manage SAML authentication, for the UPA Tenant, select Edit
- Click Configure Claims Mappings
- In the Match login claims to users using this property pulldown, change it to UserName
- In the Unique ID field, copy and paste:
http://schemas.xmlsoap.org/ws/2005/05/identity/claims/name
- In the Username field, copy and paste:
http://schemas.xmlsoap.org/ws/2005/05/identity/claims/name
- In the Display Name field, copy and paste:
http://schemas.xmlsoap.org/ws/2005/05/identity/claims/displayname
- In the Email Address field, copy and paste:
http://schemas.xmlsoap.org/ws/2005/05/identity/claims/name
- Click Save and then click Save Changes
- Now, Copy/Paste the PowerShell script below to add the users (make sure that you’ve installed the UPA PowerShell snap-in. If you do not have this, you can get it from your Full Armor contact).
# Add-PSSnapin HAPI.ProviderPowershellSnapin

# set to name of your gatekeeper
$gatekeeper = "https://upademotest.micah.local"

# set to the name of your SAML or OIDC provider
$configName = "upasaml"

# set token to the SCIM token for the SAML or OIDC provider
$token = "sOIPuVDtbaPvFqsfIVdI0Gb6FNXCZ9dJjdAIW_q1ArY1"

#set SCIM connection (this connection will be used by the SCIM cmdlets)
set-scimconnection -server $gatekeeper -BaseUrl "/api/scim" -Authorization $token

#add user 1
$email = New-ScimEmailAddress -Type "work" -Primary $True -Value upa_admin@faupa.onmicrosoft.com
$u1 = post-scimuser -UserName upa_admin@faupa.onmicrosoft.com -DisplayName 'UPA Admin' -Emails $email

#add user 2
$email = New-ScimEmailAddress -Type "work" -Primary $True -Value upa_editor@faupa.onmicrosoft.com
$u2 = post-scimuser -UserName upa_editor@faupa.onmicrosoft.com -DisplayName 'UPA Editor' -Emails $email

#add user 3
$email = New-ScimEmailAddress -Type "work" -Primary $True -Value upa_approver@faupa.onmicrosoft.com
$u3 = post-scimuser -UserName upa_approver@faupa.onmicrosoft.com -DisplayName 'UPA Approver' -Emails $email

#add user 4
$email = New-ScimEmailAddress -Type "work" -Primary $True -Value upa_reviewer@faupa.onmicrosoft.com
$u4 = post-scimuser -UserName upa_reviewer@faupa.onmicrosoft.com -DisplayName 'UPA Reviewer' -Emails $email- Edit the lines of the script as follows:
- Line 4 – enter the URL of your UPA instance
- Line 7 – enter the name of your app from Step 8 above (e.g., UPA)
- Line 10 – Copy/paste the SCIM Token
- To get the token
- Go back to the Owner Portal
- In Manage SAML Authentication, in the UPA Tenant section, click Edit
- Click Configure ProvisioningIn the Provisioning Mode, click Get SCIM Token
- Copy the SCIM Token to the clipboard
- Click Save
- Then click Save Changes
- Paste (replace the example) the SCIM Token into line 10 in the PowerShell script
- To get the token
- In Line 16, enter the email address of the Entra ID user that you Assigned in Step 12.
- In Line 17, edit the UserName and DisplayName for the Assigned user in Step 12.
- For each user, edit the 2nd line where it reads ‘$u1’, meaning user 1 for each user accordingly (user 2 should be ‘$u2’, etc.)
- Save the Script and run it
- Go back to Owner’s Portal (you should be at the Manage SSO Authentication section) and click List Users.
- Confirm that the user(s) are listed there
- If you want this Entra ID User to be a Global Admin in UPA, click Set User as Global Admin
- Open a browser tab and enter the URL for your UPA Portal with the SAML SSO:
https://upademotest.micah.local/portal/SSO/SamlLogin?Provider=UPA
In the SAML Configuration Settings, if you checked Set as Default Login Provider, then you can simply use the UPA URL without the ‘/portal/SSO/SamlLogin’.
Please note: If you have assigned a different user to log into UPA than the user that you are currently logged into Microsoft Entra, make sure to logout of Microsoft Entra before logging into UPA. - After you login to UPA with the Entra User, you will need to grant access to the other Entra users. To grant access to the other users:
- In the Administration tab, go to Assignments
- Select the Assignment appropriate for the user (Global Approvers for upa_approver, etc.)
- Click Edit and then Include Users (or Groups)
- Select to Include the user and Save it.
Now that user will be able to log into UPA.
See the video that proceeds through the steps.