
Creating Users and Groups
Overview
SSHepherd® grants User access to Hosts through membership in a Group. Therefore, Users and Hosts must belong to the same Group. This configuration prevents lateral movement across Hosts. Below is the process to do this using either the Administrator Console or the SSHepherd® Control CLI.
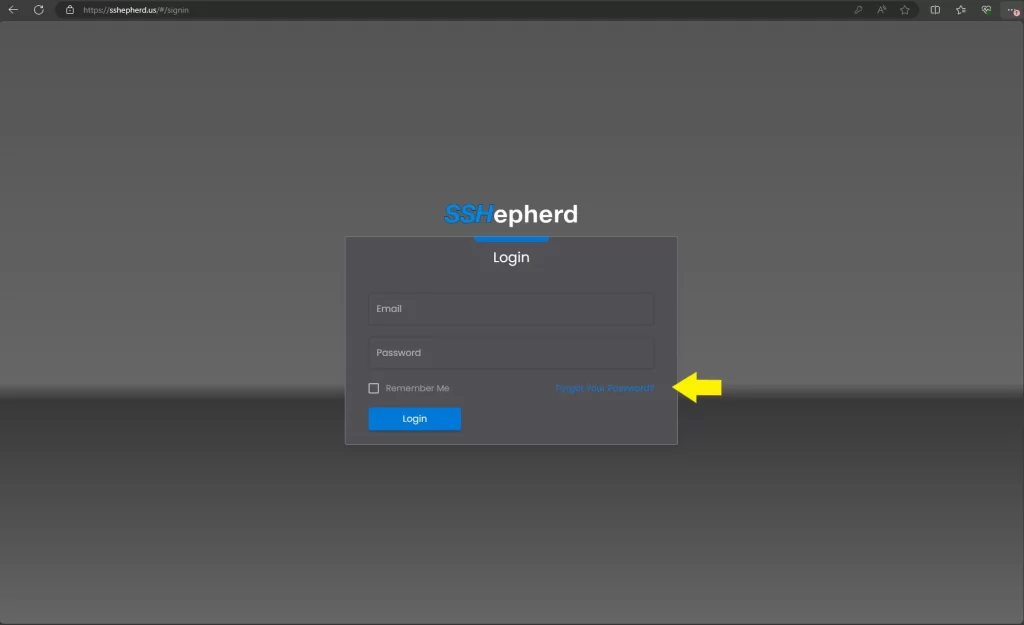
To create a new user account, you will need the email address for the new user and you will also need to supply a password for them. We recommend using a strong password. If the password reset feature has been enabled, once you have created the user, they can access the Administrator Console and click on the “Forgot Your Password?” link to start the process of changing it.
Groups are used to link users and hosts together. A normal user can only see and access hosts that are a part of a group that the user is also a part of (note – admin users have access to all hosts). Users and hosts can be a part of multiple different groups. Groups can be created, deleted and modified via the Administrator Console (changes can only be made from within the Groups view) or via the shepctl tool.
Using the Administrator Console
Create a User
- Select Users in the Admin Console
- Click the ‘+’ icon
- Enter the User’s email and assign a password
- Click Create
Create a Group
IMPORTANT: Currently, groups cannot be re-named, as the name is the identifier of the group, so choose your group name carefully.
- Go to the Groups menu
- Click the ‘+’ icon
- Name the Group and click Create
Add User(s) to a Group
- Select the Group name
- A panel will appear below showing the existing users in that group
- Click the ‘+’ icon in the bottom panel
- Select the User(s) to add to the Group and Click Include
Add Host(s) to a Group
- In the lower box to the right of the Users, click on the Hosts
- Click the ‘+’ icon
- Select the Host and click Include
Now you are ready to connect to the Host.
SSHepherd® only allows connections to hosts if the logged in User is a member of a Group that also contains the requested Host.
Using the SSHepherd® Control CLI
Create a User with shepctl
- In a terminal window, log in with your Administrator account.
shepctl --url https://your.sshepherd.server login - Create a User. Run the following command where USER@domain.com is the email address of the user you are creating.
shepctl create-user - You will be prompted to enter a username (the user’s email address) enter and confirm a password for the new user account.
Optionally, you can add the –user option + the user’s email address to bypass the Username prompt. You will only be prompted to enter and confirm a password for the new user.
shepctl --user USER@domain.com create-user
Create a Group with shepctl
To create a group you initially will only need to provide a descriptive name for the group (note – currently, groups cannot be re-named as the name is the identifier of the group).
- In a terminal window, log in with your Administrator account.
shepctl --url https://your.sshepherd.server login - Create a Group. Run the following command where GROUP is the name of the group you are creating. If your group name has a space in it, ensure that it is enclosed in quotes. i.e. “New Group”
shepctl --group GROUP create-group
or
shepctl --group "MY NEW GROUP" create-group
Add a User or Host to a Group with shepctl
IMPORTANT: The group-add command can add either a User to a Group, or a Host to a Group. You cannot combine adding and/or removing both a host and a user from a group at the same time. However, it does prompt you for both. If you are adding a Host to a Group, you will hit <enter> for none when prompted to enter an email address. If you are adding a User to a Group, you will hit <enter> for none when prompted to enter a HostID, but you will need to enter a valid email address for a User.
To bypass the email prompt when adding a Host to a Group, use the following command:
shepctl --hostid <hostid> --user "" --group <group name> group-add
Example: shepctl –hostID 653d3f1ebc2de19e31c8112f –user “” –group RDP3 group-add
Bulk User Creation
This option is only available via the shepctl tool.
If you want to create more than one user at a time, you can perform the following:
- Create a text file with all of the user’s email addresses you want to create. Each email address should be on a separate line.
- Run the following shepctl command where FILE is the path to the file you created in Step 1:
shepctl --bulkfile FILE create-users
IMPORTANT: The shepctl tool will attempt to create a new user for each of the email addresses specified in the text file. They will be created with securely generated unique passwords (over 20 characters in length, potentially including uppercase and lowercase letters, numbers, and symbols) that will be unknown to anyone. Users created this way will therefore have to go through the password reset feature flow, so ensure that this has been enabled and tested.
Bulk Add Users to Group
This option is only available via the shepctl tool.
If you want to add more than one user to a group at a time, you can perform the following:
- Create a text file with all of the user’s email addresses you want to add to a group. Each email address should be on a separate line.
- Run the following shepctl command where FILE is the path to the file you created in Step 1, and GROUPNAME is the name of the group in which to add the users:
shepctl --bulkfile FILE --group GROUPNAME group-add-users