
Installing the SSHepherd® Control App and CLI
Applies to SSHepherd 2.0
Overview
Users connect to protected hosts with the SSHepherd® Control App or the SSHepherd® Control CLI, shepctl. Both connect to your C3 server, which then connects them to the host.
- The Control App is a desktop application. Users sign in, see the tunnels available to them, and switch tunnels on and off.
- shepctl is the command-line tool. It’s also used by the Control App to open tunnels, and by scripts and automation.
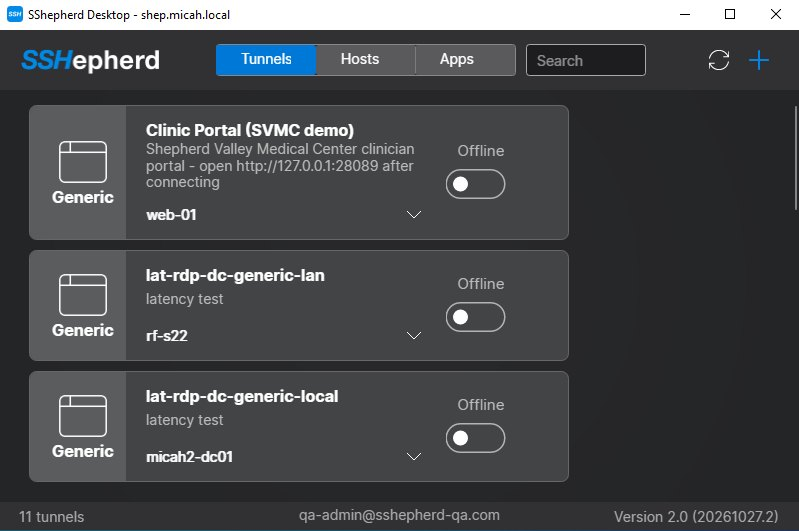
For supported operating systems, see System Requirements.
Installing on Windows
- Download and run
shepctl-2.0.<version>_x86_64.msi. It installs both the Control App and shepctl. - When the installation finishes, start the SSHepherd® Control App.
- Enter your C3 server URL, user name and password.
- Open your first session.
To install without prompts, for example from a deployment tool:
msiexec /i shepctl-2.0.<version>_x86_64.msi /qnInstalling on Linux
You can install shepctl, and optionally the Control App (shepui), from the SSHepherd® package repository or from the package files in the release.
The Control App needs shepctl. Install shepctl first.
Debian/Ubuntu
From the repository. Add the repository once, as described in Installing the Agent, then run:
sudo apt install -y shepctl
sudo apt install -y shepui
From package files:
sudo apt install -y ./shepctl-2.0.<version>_x86_64.deb
sudo apt install -y ./shepui-2.0.<version>_x86_64.deb
Red Hat Enterprise Linux
From the repository. Add the repository once, as described in Installing the Agent, then run:
sudo yum install -y shepctl
sudo yum install -y shepui
From package files, for example on RHEL 9:
sudo dnf install -y ./shepctl-2.0.<version>-1.el9.x86_64.rpm
sudo dnf install -y ./shepui-2.0.<version>-1.el9.x86_64.rpm
The Control App (shepui) is available for RHEL 8 and later. On RHEL 7, install shepctl only.
When the installation finishes, you’ll find the SSHepherd® Control App in your applications.
Signing in with the Control App
With a local SSHepherd® account or Active Directory
- Start the SSHepherd® Control App.
- Enter your C3 server URL.
- When the user name and password fields appear, enter your SSHepherd® user name (your email address) or your Active Directory user name, and your password.
With SSO (SAML or OIDC)
- Start the SSHepherd® Control App.
- Enter your C3 server URL.
- Your default web browser opens your identity provider’s sign-in page. Sign in there.
Signing in with shepctl
- Open a terminal or Command Prompt and run:
shepctl --url https://your.sshepherd.server login - With a local account or Active Directory, enter your user name and password when prompted.
- With SSO, shepctl shows a URL and a code instead. Open the URL in a browser and enter the code within 10 minutes. You’re then sent to your identity provider to sign in.
To check who you’re signed in as:
shepctl whoamiTo see the shepctl version:
shepctl versionTo sign out:
shepctl logoutTo list all commands and options, run shepctl --help, or see the CLI Reference.
Important: To bypass SSO or Active Directory and sign in with a local SSHepherd® account, add
--userwith that account:shepctl --url https://your.sshepherd.server --user admin@example.com login
Using more than one sign-in
shepctl saves your sign-in in a session file, by default ~/.shepctl-session. To keep several sign-ins side by side, for example two C3 servers, or an administrator account and a test account, give each one its own session file with --sessionfile:
shepctl --url https://your.sshepherd.server --user tester@example.com --sessionfile ~/tester.session login
shepctl --sessionfile ~/tester.session list-host
Use the same --sessionfile with every command that should run as that account.