
Creating Users and Groups
Applies to SSHepherd 2.0
Overview
SSHepherd® gives a user access to an agent (a protected host) through a group. A user can see and connect to an agent only when they are both members of the same group. This keeps users from moving sideways to hosts they weren’t given.
- A user and an agent can each belong to several groups. A user can reach every agent in every group they belong to.
- Administrators can reach all agents, whatever their groups.
- A group can also be given tunnel definitions. Every member of the group can open those tunnels.
- Changes to group membership take effect immediately.
You can manage users and groups in the Administrator Console or with the SSHepherd® Control CLI (shepctl).
About user accounts
To create a user, you need the user’s email address and a password for them. Choose a strong password.
New users get the built-in user role, which lets them list their agents and open tunnels. To give a user more rights, see Managing Roles.
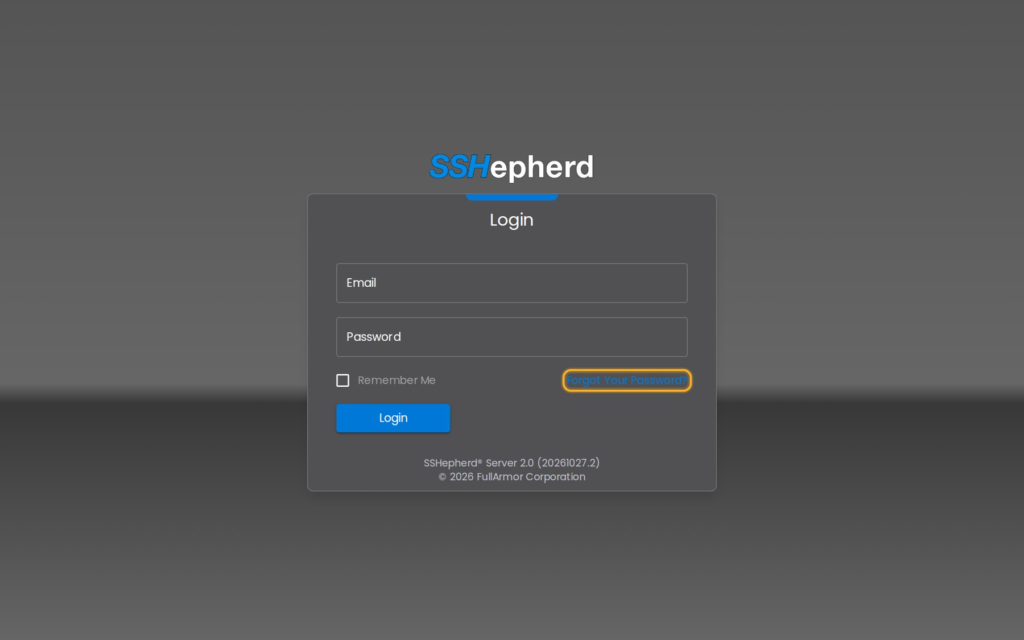
Users can change a forgotten password with the Forgot Your Password? link on the sign-in page. This needs a mail server or SendGrid set up on the C3 server first. See Configuring C3 Settings. If mail isn’t set up, password reset doesn’t work.
If your C3 server uses Active Directory or an SSO identity provider, see Configuring a Third-Party Identity Provider.
About group names
The group name is the group’s identifier, so you can’t rename a group later. Choose the name carefully.
Group names can contain letters, numbers, spaces, and these characters: _ - . ( ). Names aren’t case-sensitive, so “Web Servers” and “web servers” are the same group.
Note: Don’t start or end a group name with a space, and don’t use a name made only of dots, such as
... You may not be able to delete such a group later.
Using the Administrator Console
Create a user
- In the Administrator Console, click Users.
- Click +.
- Enter the user’s email address, then enter and confirm a password.
- Click Create.
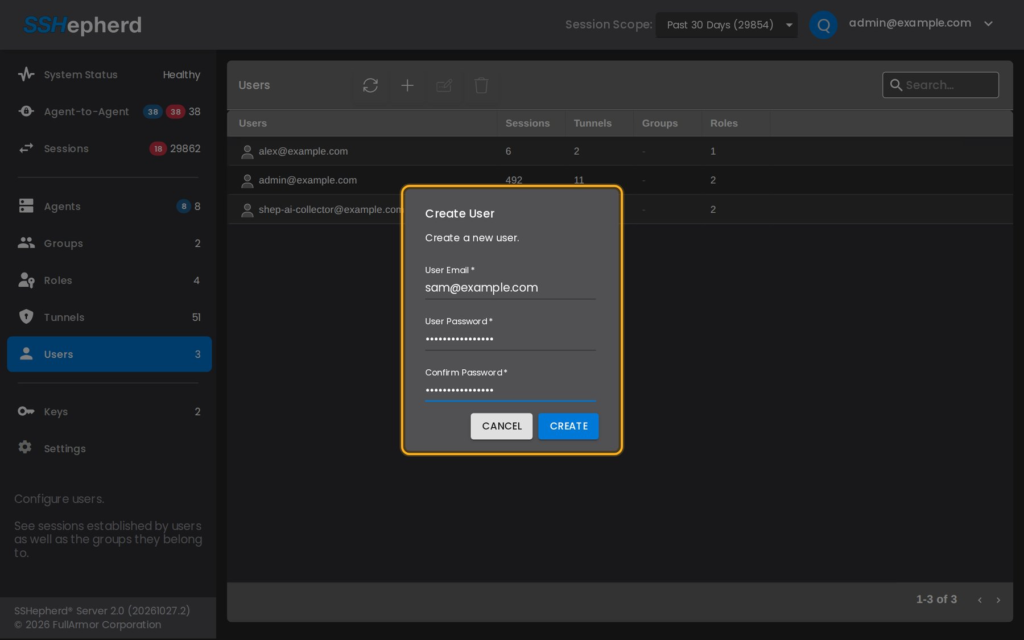
The new user appears in the list. Select a user to see their Sessions, Tunnels, Groups and Roles. You assign groups on the Groups page and roles on the Roles page.
Create a group
- Click Groups.
- Click +.
- Enter a name for the group and click Create.
Add users to a group
- On the Groups page, select the group.
- In the panel below, click the Users tab.
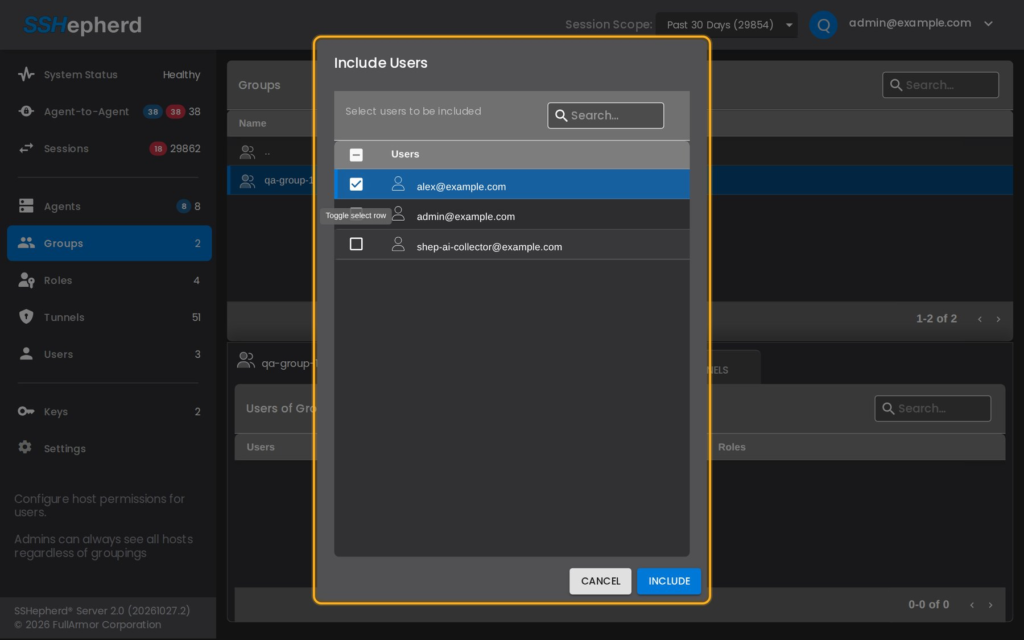
- Click Include User.
- Select the users to add and click Include.
Add agents to a group
- On the Groups page, select the group.
- In the panel below, click the Agents tab.
- Click Include Agent.
- Select the agents to add and click Include.
The group’s members can now see these agents and connect to them.
Remove users or agents from a group
- On the Groups page, select the group.
- Click the Users or Agents tab.
- Select the user or agent and click Exclude.
- Confirm.
The user loses access to the group’s agents straight away for new connections.
Note: A tunnel the user already has open keeps working until it’s closed. To end an SSH or RDP session now, terminate it on the Sessions page. See Monitoring Sessions. A Generic tunnel starts a new session for each connection, and an open Generic tunnel can keep making new connections after the user loses access, so terminating its sessions doesn’t stop it.
Delete a group
- On the Groups page, select the group.
- Click the delete (trash) icon.
- Confirm.
Important: Deleting a group also deletes every tunnel definition assigned to that group. The confirmation doesn’t warn you about this. Recreating a group with the same name doesn’t bring the definitions back. Before you delete a group, check its Tunnels tab.
Delete a user
- Click Users and select the user.
- Click Delete User.
- Confirm.
Important:
- Deleting a user doesn’t end sessions the user already has open, and those sessions stop appearing in the Sessions list. Before you delete a user, terminate their live sessions on the Sessions page.
- Deleting a user removes their past sessions from the Sessions list. If you need to keep a user’s session history for auditing, remove the user’s roles and groups instead of deleting the account.
- Review the Keys page and delete any API keys the user created that are no longer needed. See API Keys.
Using the SSHepherd® Control CLI
Sign in to shepctl with an administrator account before you run these commands:
shepctl --url https://your.sshepherd.server loginAdd -q to any command to skip prompts for values you’ve already given.
Create a user
Run:
shepctl create-usershepctl prompts for the user name (the user’s email address), then for the new password twice.
To skip the user name prompt, add --user:
shepctl --user jane.doe@example.com create-userCreate a group
Run the command below, where the value of --group is the new group’s name. Put quotes around names that contain spaces.
shepctl --group "Web Servers" create-groupAdd a user to a group
shepctl --group "Web Servers" --user jane.doe@example.com group-addAdd an agent to a group
You need the agent’s host ID. Run shepctl list-host to see the IDs of all agents, or run shepagent info on the host itself.
shepctl --group "Web Servers" --hostid <host id> group-addgroup-add adds either a user or an agent, not both at once. To add a user and an agent, run it twice.
Without -q, group-add with --hostid also asks for an optional user email. Press Enter to skip it, or add -q to skip the prompt.
Remove a user or agent from a group
shepctl --group "Web Servers" --user jane.doe@example.com group-del
shepctl --group "Web Servers" --hostid <host id> group-del
List groups
To list all groups:
shepctl list-groupTo see one group with its members:
shepctl --group "Web Servers" list-groupDelete a group
shepctl --group "Web Servers" remove-groupAs in the console, deleting a group also deletes the tunnel definitions assigned to it.
Delete a user
shepctl --user jane.doe@example.com remove-userBulk user creation
This option is only available in shepctl.
To create many users at once:
- Create a text file with one email address per line.
- Run this command, where
users.txtis the path to your file:shepctl --bulkfile users.txt create-users
shepctl creates a user for each valid address in the file and skips lines that aren’t valid email addresses. Each user gets a long, randomly generated password that nobody knows. Users created this way must set their own password with Forgot Your Password?, so make sure mail is set up and password reset works before you use this command. See Configuring C3 Settings.
Bulk add users to a group
This option is only available in shepctl.
- Create a text file with one email address per line.
- Run this command, where
users.txtis your file and “Web Servers” is the group:shepctl --bulkfile users.txt --group "Web Servers" group-add-users
shepctl adds each user to the group. If an address in the file doesn’t belong to an existing user, shepctl reports “User not found” for that line and carries on with the rest. Check the output, because the command finishes successfully even when some lines fail.